
What rolling involves
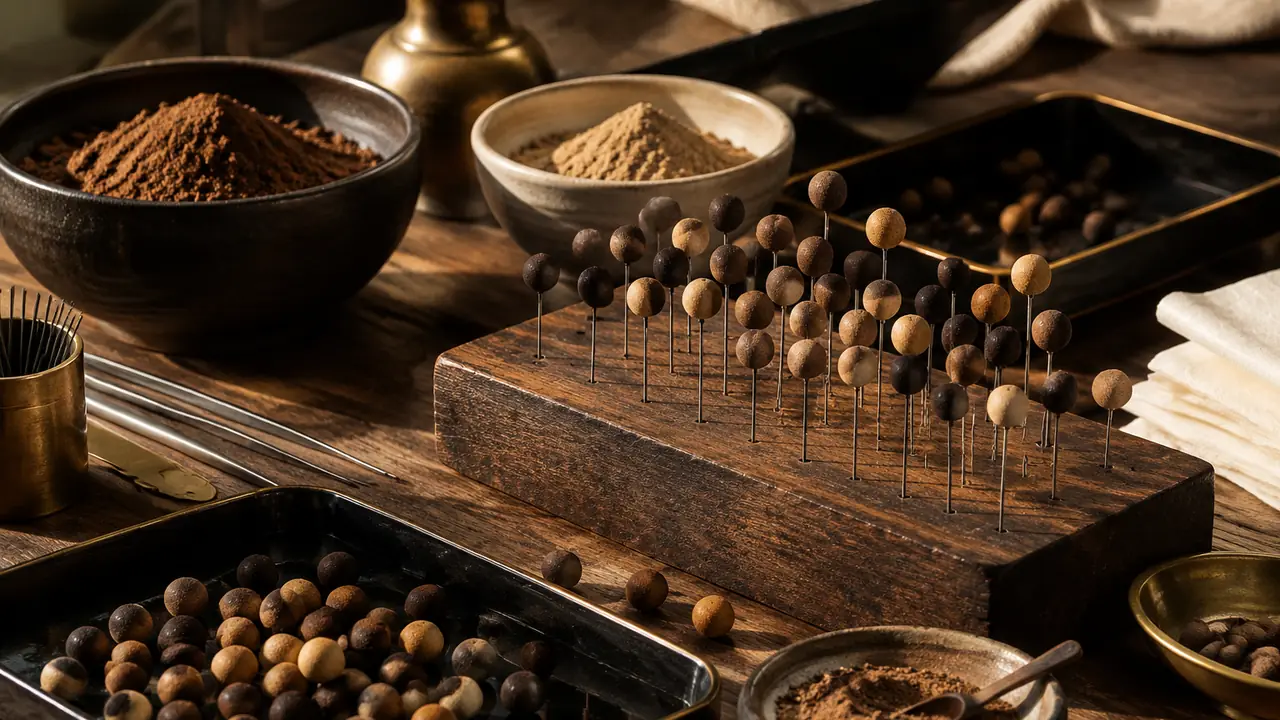
After the dough has rested, a worker cuts it into pieces, rolls each piece between the palms into a sphere and pierces it with a steel pin while it is still soft. That is the whole step, and it takes years to do well. The dough is firm but supple, the pieces must be the same size, and a bead that is pressed too hard becomes oval or develops creases. Rolling is the fifth of the seven steps in how incense beads are made, and it follows the resting stage described in resting the incense dough.
The reason it is still manual is practical. The dough is sticky, varies with weather, and holds a lot of aromatic fiber. Forming machines tend to compress it unevenly and tear the surface. The skilled workers in partner workshops adjust pressure by feel, and that adjustment is what the category sells. The wider argument is in why incense beads resist machine production.
Weight: the first control
Good beads begin as equal pieces. Workshops commonly cut the dough into portions by weight, using a small scale or a trained eye checked against a scale, before any rolling begins. For a typical 8 mm bead, the weight sits in the range of about 0.3 to 0.5 g, a typical reference from workshop weighing and not a promise for every lot. Consistent weight gives consistent diameter after drying, because beads lose water and shrink in a predictable amount when they start from the same mass.
Weight also matters at the strand level. An 8 mm bracelet usually has 18 to 22 beads, so a few extra tenths of a gram per bead change how a strand hangs on the wrist. A 108-bead strand multiplies the difference by five. Buyers who care about feel should ask for the average strand weight in the specification and a tolerance for the whole lot.
Shape: rolling to round
Rolling in the palms produces a sphere by constant light rotation. Workers use a flat slab or a shallow groove for the final pass, which smooths the surface and corrects slight flat spots. Common shape defects and their usual causes are below.
| Defect | Usual cause | What to check |
|---|---|---|
| Oval or egg shape | Pressure applied on one axis | Measure two diameters on a sample |
| Flat side | Bead rested on a rack before it set | Look at the base of dried beads |
| Creases or seams | Dough too dry or folded in rolling | Inspect before polishing |
| Pitted surface | Coarse powder in the dough | Ask about sieving |
| Size drift in one strand | Uneven portions | Check weight spread |
Sizes in the catalogue run from 6 to 20 mm, with 6, 8, 10 and 12 mm the common choices; see incense bead sizes explained for what fits where. Some shrinkage always follows drying, so the rolled diameter is slightly larger than the finished one, and workshops that supply regular sizes know their own allowance.
The hole: pin, angle and center
Piercing is done while the bead is soft. A steel pin is pushed through the center, turned gently and withdrawn. Typical finished hole diameters are about 1.2 to 2.0 mm, which suits elastic cord, silk and most silver spacers. Two things matter beyond diameter.
- Centering. A hole that runs off-center makes the bead sit crooked on a cord and weakens one wall. It also looks wrong on a strand.
- Edge quality. The pin should not tear the entry and exit points. Rough edges catch cord and show as chips after wear.
- Size match. Silver spacers and charms need holes that fit their own bores. This is covered in the silver set line.
Holes shrink slightly as the bead dries, so workshops pierce with an allowance. Buyers who plan to restring beads with thicker cord or metal pins should state the finished hole size they need.
Working conditions at the rolling table
Rolling is sensitive to the room. Dough dries at its edges within minutes in a dry or breezy workshop, so rolled portions are kept under a damp cloth and only small amounts are taken out at a time. Clean, dry hands matter too, since oils from skin or lotion mark the surface and show later as dull patches after polishing. Workers often stop to wipe the table and re-cover the dough, a habit that looks slow and saves a great deal of rework.
Fatigue shows in the work. Late in a long session, rolling pressure drifts and beads start to vary in size. Well-run workshops rotate people and sort rolled beads by eye and by sieve before they go to racks, so a variation is caught while beads are still soft and can be re-rolled. For a buyer this means that a large lot is better organized as several days of rolling than as one long push, and that the lead time in the quotation should leave room for it.
What a sample should show
A sample strand is the quickest view of a workshop's hands. Hold it up to a window and look along the strand. Are the beads the same size? Do the holes line up in a row? Is the surface clean around each hole? Roll a few between the fingers: they should feel evenly dense. Then ask for the bead weight range and the diameter range in the specification sheet.
- Measure ten beads from different parts of the strand with calipers and note the spread.
- Weigh the same ten and compare with the stated typical range.
- Check the hole at both ends of several beads for centering.
- Pass cord through and note any snagging at the edges.
- Keep the sample as a reference for incoming lots.
The same checks scale up to pre-shipment inspection, described on testing and inspection, and the retained sample becomes the standard for the bulk run.
Hand work and lead time
Because each bead passes through the hands of a worker, lead time depends on workforce more than on machines. A custom program of several hundred pieces needs rolling days as well as drying days, and the hand-rolling stage is one reason custom formulas take longer than catalogue items. Typical reference ranges are on MOQ and lead time, confirmed in writing for each program. To start a program with a size, bead count and hole requirement, send the brief through the quote form.