
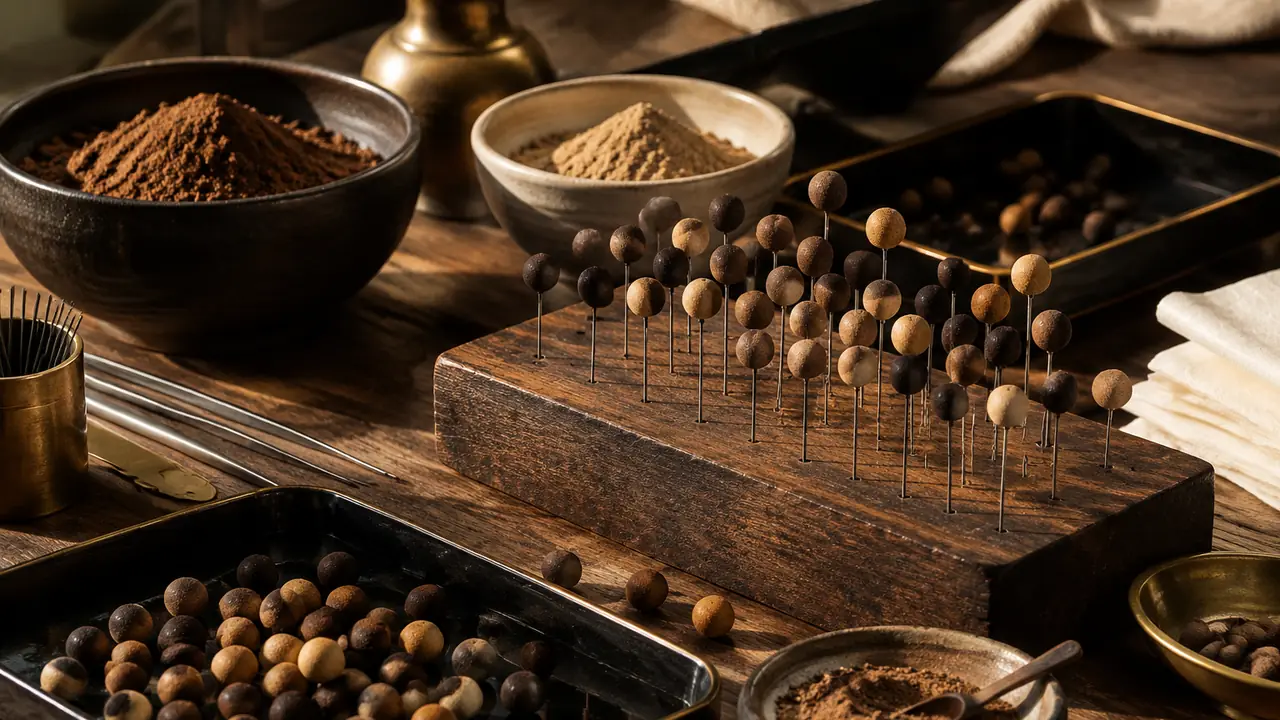
A light kit for a hand craft
A visitor expecting machinery in a bead workshop is usually surprised. A rolling table, a scale, a set of pins, wooden racks and a few jars cover most of the process. This is a direct result of the working principles described in why incense beads resist machine production: the dough is sticky and varies, and tools that adapt to it work better than machines that force it. The main exception is the mill, covered in milling and sieving. Understanding the kit helps a buyer ask better questions about a workshop's capacity and about what can be customized.
Tools along the seven steps
| Stage | Tool | What it controls |
|---|---|---|
| Powder | Mill, fine sieves, storage jars | Fineness and traceability |
| Dough | Scale, mixing bowl or kneader, pounding board | Formula accuracy and dough texture |
| Resting | Lidded tubs, damp cloth, sealed bags | Moisture evenness |
| Rolling | Small scale, cutting blade, rolling board or palms | Bead weight and roundness |
| Piercing | Steel pins in set sizes, pin holder | Hole size and centering |
| Drying | Racks, trays, hygrometer and thermometer | Speed and evenness of drying |
| Finishing | Polishing drum or cloth, sealed jars | Surface and aging |
The pin: small tool, large effect
Steel pins are the signature tool of the bead maker. They come in several diameters to give the finished hole size, typically around 1.2 to 2.0 mm, and they are kept smooth, straight and clean so that they do not drag the dough. A bent or sticky pin causes off-center holes and torn edges. Workshops often keep a rack of pins in different sizes and pierce with a small allowance for shrinkage. A buyer who needs a specific finished hole for silver spacers or thicker cord should say so at the start, because the pin size is chosen before the first bead is rolled. Silver pairing is explained in the silver set line.
Where molds are used
Spherical beads are rolled by hand, not molded. Molds enter the picture for other shapes in the same dough family. Tablets, pendants and relief pieces are pressed in carved molds, usually of wood, resin or metal, that give the outline and the relief pattern. A mold is the way a brand logo or a pattern becomes repeatable at volume. Small molded shapes such as coins, lotus forms or animals are also made this way. The step-by-step version is in pressing incense tablets.
- Press molds. Two-part or open molds give relief on one or both faces. Release agent or fine powder prevents sticking.
- Cutters. Metal or plastic outlines cut tablets or shapes from a rolled sheet of dough.
- Stamps. Small carved stamps mark a logo into the surface of a soft piece.
- Tablet boards. Flat, lightly porous boards support pieces while they dry so that they do not warp.
Custom molds for brands
A custom mold is an upfront investment and a design commitment. Brand programs use them for logo pendants, special shapes, or a pattern unique to the brand. Several points matter when planning one:
- Provide artwork as clean line art with the real finished size, typically in the 30 to 50 mm range for tablets.
- Expect a mold proof or a first pressed piece for approval before volume.
- Accept that relief depth is limited by the dough: very fine lines blur, and sharp undercuts do not release.
- Confirm who owns the mold and where it is stored, and put it in writing.
- Plan for shrinkage in drying, which makes the finished piece slightly smaller than the pressed one.
Mold costs and lead time are quoted per program and are not given here. They sit alongside the other items in OEM and private label.
Keeping tools clean and consistent
Because the dough is sticky and aromatic, residue builds up fast on every tool. Pins pick up dried dough, boards absorb scent, and molds carry traces from the previous formula. Good workshops clean and dry tools between formulas and keep separate boards and molds for strongly scented lines, so a sandalwood bead does not pick up a trace of clove from the last batch. This matters most for fragrance brands that sell a single scent with a clear identity, and for any program that declares specific botanical ingredients.
Wooden racks and boards are also a hygiene point. They are dried in air, kept away from damp corners and replaced when they begin to show stains or spots, since a moldy rack can seed a whole tray. A buyer cannot inspect every board, but a question about how racks are cleaned and how often they are replaced quickly shows whether the workshop thinks about it.
Capacity and the number of hands
Because the kit is simple, capacity is counted in people and rooms, not machines. How many workers roll, how many racks fit in the drying room, and how many days a batch occupies the space decide how much can be done in a given period. This is why minimums and lead times for beads are expressed in dozens, hundreds and weeks, and why a large order is usually split into several drying batches. When a workshop says it can add capacity, ask whether this means more trained workers and racks or simply more hours, and whether the same people will roll the sample and the bulk. The reference ranges are on MOQ and lead time and are confirmed in writing for each program.
Reading a workshop through its tools
On a visit the tools tell you more than a brochure. Clean pins in graded sizes, a working scale on the rolling table, racks with labels, and a thermometer and hygrometer in the drying room all indicate a workshop that controls the steps. A pile of mixed pins, no scale at the table, and drying rooms with no instruments suggest a process that depends on one person's memory. None of this requires technical knowledge: it requires looking. The sourcing desk records these points in its audit notes, described on workshop audit.
When a custom shape or finish is involved, ask for the sample to be made with the actual tools planned for bulk, not a one-off hand-carved piece. Otherwise the approved sample may not be reproducible in volume. A brief with the shape, size, count and finish can be sent through the quote form, and reference timing sits on MOQ and lead time.